# Trimmer
An HTML representation of a trimmer potentio meter.
## Default usage
Import the trimmer to your project:
```javascript
// ES6
import { trimmer } from '@navelpluisje/pcb-components/src';
// Or for example an Electron project
const { trimmer } = require('@navelpluisje/pcb-components/dist/umd');
// Then call the function. This will make the component avalaible in the DOM
trimmer();
```
When included you can use the `np-trimmer` tag to use it in your code.
```
```
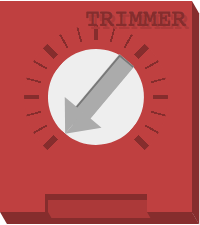
This will generate the next resistor:
## Value
By clicking the resistor, or the value, an inputfield will appear. Type the value of the resistor, blur the field and see the color-bands change to the corresponding colors for the value.
## Attributes
* `min` (default: 0): The minimal value of the trimmer
* `max` (default: 10): The maximal value of the trimmer
* `step` (default: 0.5): The step-size of the resistor
* `value` (default: 0): The initial value for the resistor
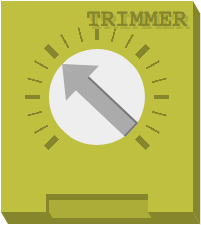
* `color`: The default color for the switch. This is the first parameter of the `hsl`-color, the color in degrees. ([More on HSL](https://developer.mozilla.org/en-US/docs/Web/CSS/color_value#hsl()))
> An example with most of the attributs set:
> ```html
> max="6"
> step="1"
> value="2"
> color="60"
> >
> ```
>
## Events
The trimmer has one event you can listen to: The `change` event. This works like the change event of any input-element. The current value of the trimmer is the value property of the event target.
```
document.querySelector('np-trimmer')
.addEventListener(
'change',
(evt) => console.log(evt.target.value)
);
```
This will print the current value of the trimmer in the console