# CSS Houdini Voronoi
A CSS Houdini Paint Worklet that draws a Voronoi Diagram as a background image
[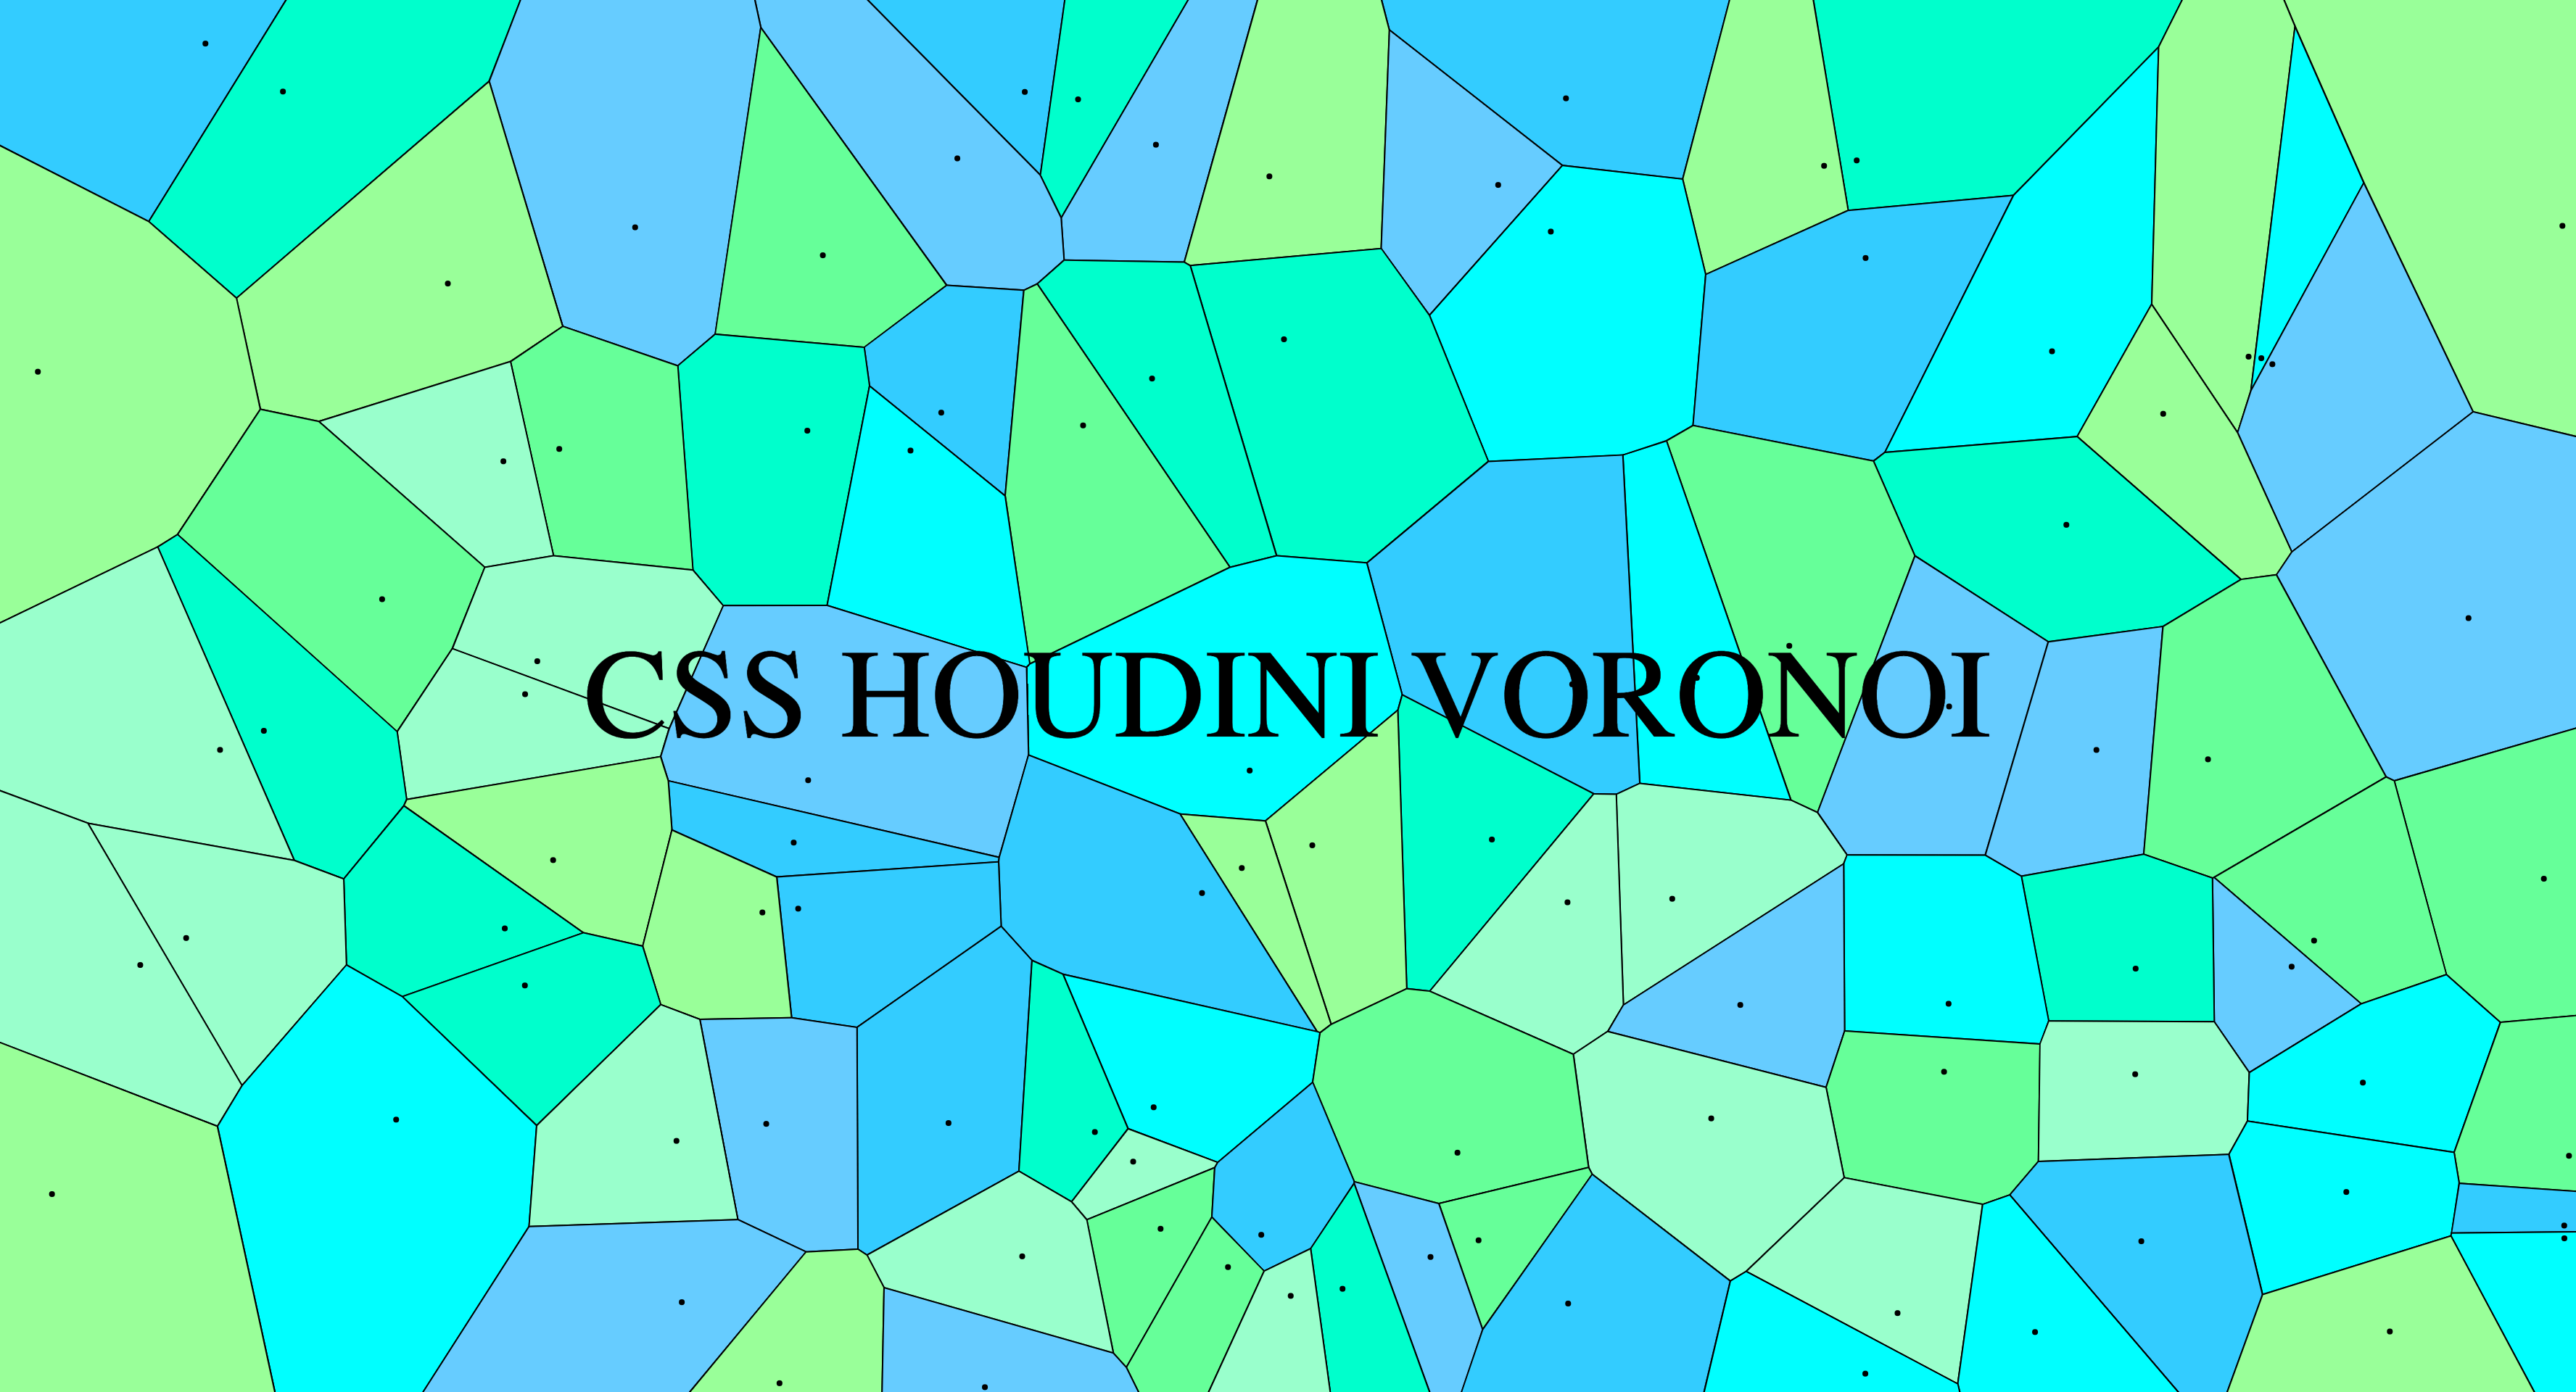](https://codepen.io/bramus/pen/mdrWrGm)
Demo: [https://codepen.io/bramus/pen/mdrWrGm](https://codepen.io/bramus/pen/mdrWrGm)
## Usage
### 1. Getting `css-houdini-voronoi`
#### Using a pre-built hosted version
The easiest way to get `css-houdini-voronoi` is to use the prebuilt version through UNPKG. Just skip ahead to step 2 in that case.
#### Installing it Locally
You can install the `css-houdini-voronoi` locally using NPM.
```bash
npm install css-houdini-voronoi
```
Alternatively you can clone [the `css-houdini-voronoi` repo](https://github.com/bramus/css-houdini-voronoi/) and after manually build the project:
```bash
cd css-houdini-voronoi
npm install
npm run build
```
You'll find the built file in the `./dist` folder.
### 2. Loading `css-houdini-voronoi`
To include it you must loads the module in the given JavaScript file and add it to the Paint Worklet.
If you want to use the UNPKG hosted version of `css-houdini-voronoi`, use `https://unpkg.com/css-houdini-voronoi/dist/worklet.js` as the `moduleURL`.
```js
if ('paintWorklet' in CSS) {
CSS.paintWorklet.addModule('https://unpkg.com/css-houdini-voronoi/dist/worklet.js');
}
```
If you've installed `css-houdini-voronoi` using NPM or have manually built it, refer to its url:
```js
if ('paintWorklet' in CSS) {
CSS.paintWorklet.addModule('url/to/worklet.js');
}
```
#### A note on older browsers
To add support for [browsers that don't speak Houdini](https://ishoudinireadyyet.com/), you can include the [css-paint-polyfill](https://github.com/GoogleChromeLabs/css-paint-polyfill) before loading the Worklet.
```html
```
### 3. Applying `css-houdini-voronoi`
To use Voronoi Paint Worklet you need to set the `background-image` property to `paint(voronoi)`
```css
.element {
background-image: paint(voronoi);
}
```
## Configuration
You can tweak the appearance of the Paint Worklet by setting some CSS Custom Properties
| property | description | default value |
| -------- | ----------- | ------------- |
| --voronoi-number-of-cells | **Number of cells**, (integer or `auto`). When set to `auto` it will adjust itself the number of cells based on the available space. | `25` |
| --voronoi-margin | **Margin to keep from edges**, as a percentage (0% – 50%). _Set to a negative value to create a zoom effect_ | `0%` |
| --voronoi-line-color | **Line Color** | `#000` |
| --voronoi-line-width | **Line Width**, in pixels | `3` |
| --voronoi-dot-color | **Color of the dot in each cell** | `transparent` |
| --voronoi-dot-size | **Size of the dot in each cell**, in pixels | `4` |
| --voronoi-cell-colors | **Cell Colors**, one or more colors to colorize the cells (comma separated). _Set to transparent to not colorize the cells_ | `#66ccff, #99ffcc, #00ffcc, #33ccff, #99ff99, #66ff99, #00ffff` |
| --voronoi-seed | **Seed for the "predictable random" generator**, See [https://jakearchibald.com/2020/css-paint-predictably-random/](https://jakearchibald.com/2020/css-paint-predictably-random/) for details. | `123456` |
_💡 The Worklet provides default values so defining them is not required_
### Example
```css
.element {
--voronoi-number-of-cells: 100;
--voronoi-margin: 5%;
--voronoi-line-color: #000;
--voronoi-line-width: 4;
--voronoi-dot-color: rgba(0,0,0,0.2);
--voronoi-dot-size: 10;
--voronoi-cell-colors: #50514f, #f25f5c, #ffe066, #247ba0, #70c1b3;
--voronoi-seed: 654321;
background-image: paint(voronoi);
}
```
### Registering the Voronoi Custom Properties
To properly animate the Voronoi Custom Properties and to make use of the built-in syntax validation you [need to register the Custom Properties](https://web.dev/at-property/). Include this CSS Snippet to do so:
```css
@property --voronoi-number-of-cells {
syntax: " | auto";
initial-value: 25;
inherits: false;
}
@property --voronoi-margin {
syntax: "";
initial-value: 0%;
inherits: false;
}
@property --voronoi-line-color {
syntax: "";
initial-value: #000;
inherits: false;
}
@property --voronoi-line-width {
syntax: "";
initial-value: 1;
inherits: false;
}
@property --voronoi-dot-color {
syntax: '';
initial-value: transparent;
inherits: false;
}
@property --voronoi-dot-size {
syntax: '';
initial-value: 2;
inherits: false;
}
@property --voronoi-cell-colors {
syntax: '#';
initial-value: #66ccff, #99ffcc, #00ffcc, #33ccff, #99ff99, #66ff99, #00ffff;
inherits: false;
}
@property --voronoi-seed {
syntax: '';
initial-value: 123456;
inherits: true;
}
```
💡 Inclusion of this code snippet is not required, but recommended.
## Demo / Development
You can play with a small demo on CodePen over at [https://codepen.io/bramus/pen/mdrWrGm](https://codepen.io/bramus/pen/mdrWrGm)
If you've cloned the repo you can run `npm run dev` to launch the included demo.
## Acknowledgements
The Voronoi Diagram is generated using a precompiled [Javascript-Voronoi](https://github.com/gorhill/Javascript-Voronoi). It is included in the build. Further inspiration was gotten from [this demo](https://library.fridoverweij.com/codelab/voronoi/voronoi_animation_2.html).
## License
`css-houdini-voronoi` is released under the MIT public license. See the enclosed `LICENSE` for details.