# gatsby-remark-prismjs-add-title
コードスニペットの前にコードのタイトルを追加します。
## インストール
```bash
npm install gatsby-remark-prismjs-add-title --save-dev
```
## 使い方
### プラグインの登録
`gatsby-config.js`に以下の設定を追加します。
```js
plugins: [
{
resolve: 'gatsby-transformer-remark',
options: {
plugins: [
{
resolve: 'gatsby-remark-prismjs-title',
options: {
className: 'your-custom-class-name'
}
} // 重要: コードブロックを使用する他のプラグインより前に定義する必要があります。
]
}
}
]
```
### CSSの追加
タイトルのタグには`gatsby-code-title`クラスが設定されます。
コードに設定しているスタイルに合わせて、スタイルを設定して下さい。
以下は、`prism.js`のスタイルに`okaidia`を使用している場合の例です。
```css
.gatsby-code-title {
display: block;
position: relative;
background: #272822;
width: 100%;
top: 10px;
border-top-left-radius: 0.3em;
border-top-right-radius: 0.3em;
}
.gatsby-code-title span {
display: inline;
position: relative;
font-family: Consolas, Monaco, "Andale Mono", "Ubuntu Mono", monospace;
color: #eee;
background: #777;
border-top-left-radius: 0.3em;
border-bottom-right-radius: 0.3em;
padding: 3px;
top: 1px;
}
```
### マークダウンでの使い方
マークダウンには`:title=表示するタイトル`の形式で設定します。
``````
```js:title=example-file.js
alert('how cool is this!');
```js
``````
このプラグインは Markdown ASTを解析し、以下のような構造に変換します。
``````
example-file.js
```js
alert('how cool is this');
```
``````
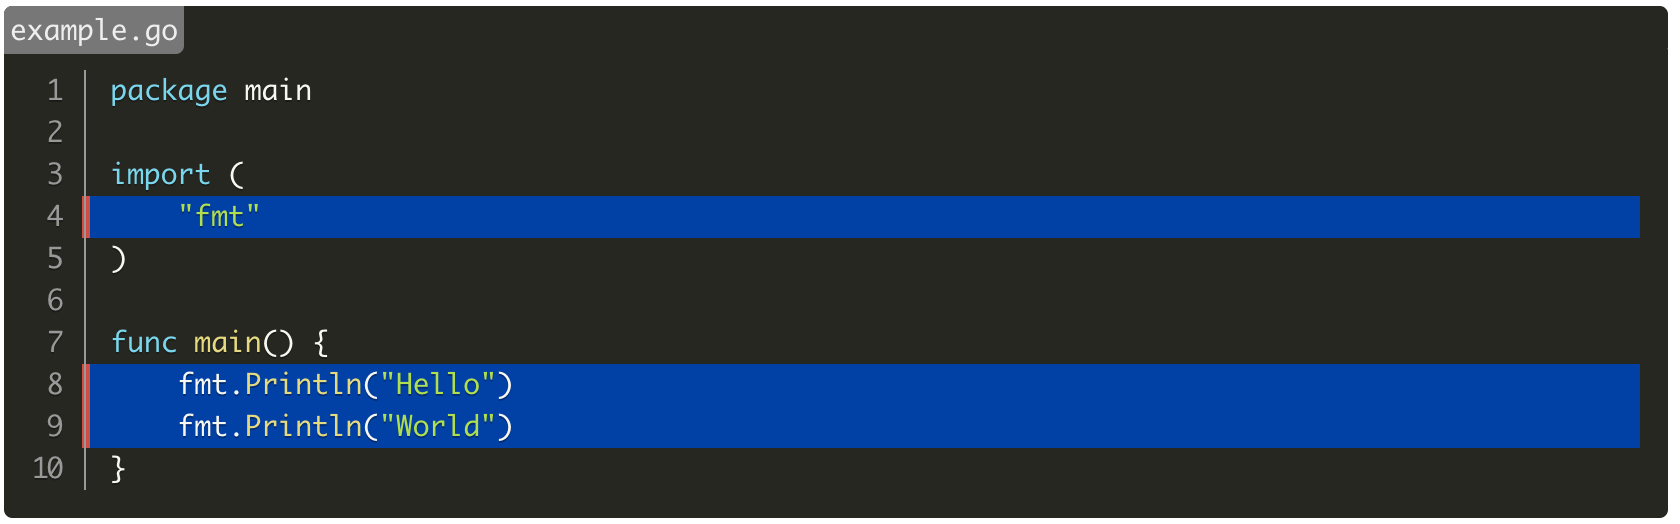
また、`gatsby-remark-prismjs`のハイライトや行番号表示と組み合わせて使用する事が可能です。
``````
```go{numberLines: true}{4,8-9}:title=example.go
package main
import (
"fmt"
)
func main() {
fmt.Println("Hello")
fmt.Println("World")
}
```
``````
## gatsby-remark-code-titlesとの違い
`gatsby-remark-prismjs`のLine Highlightの指定と同時に使用可能。
また、タイトルを`span`タグで囲う。
- `gatsby-remark-code-titles`
`title
`
- このプラグイン
`title
`