# Avatar generator for GUN SEA public keys
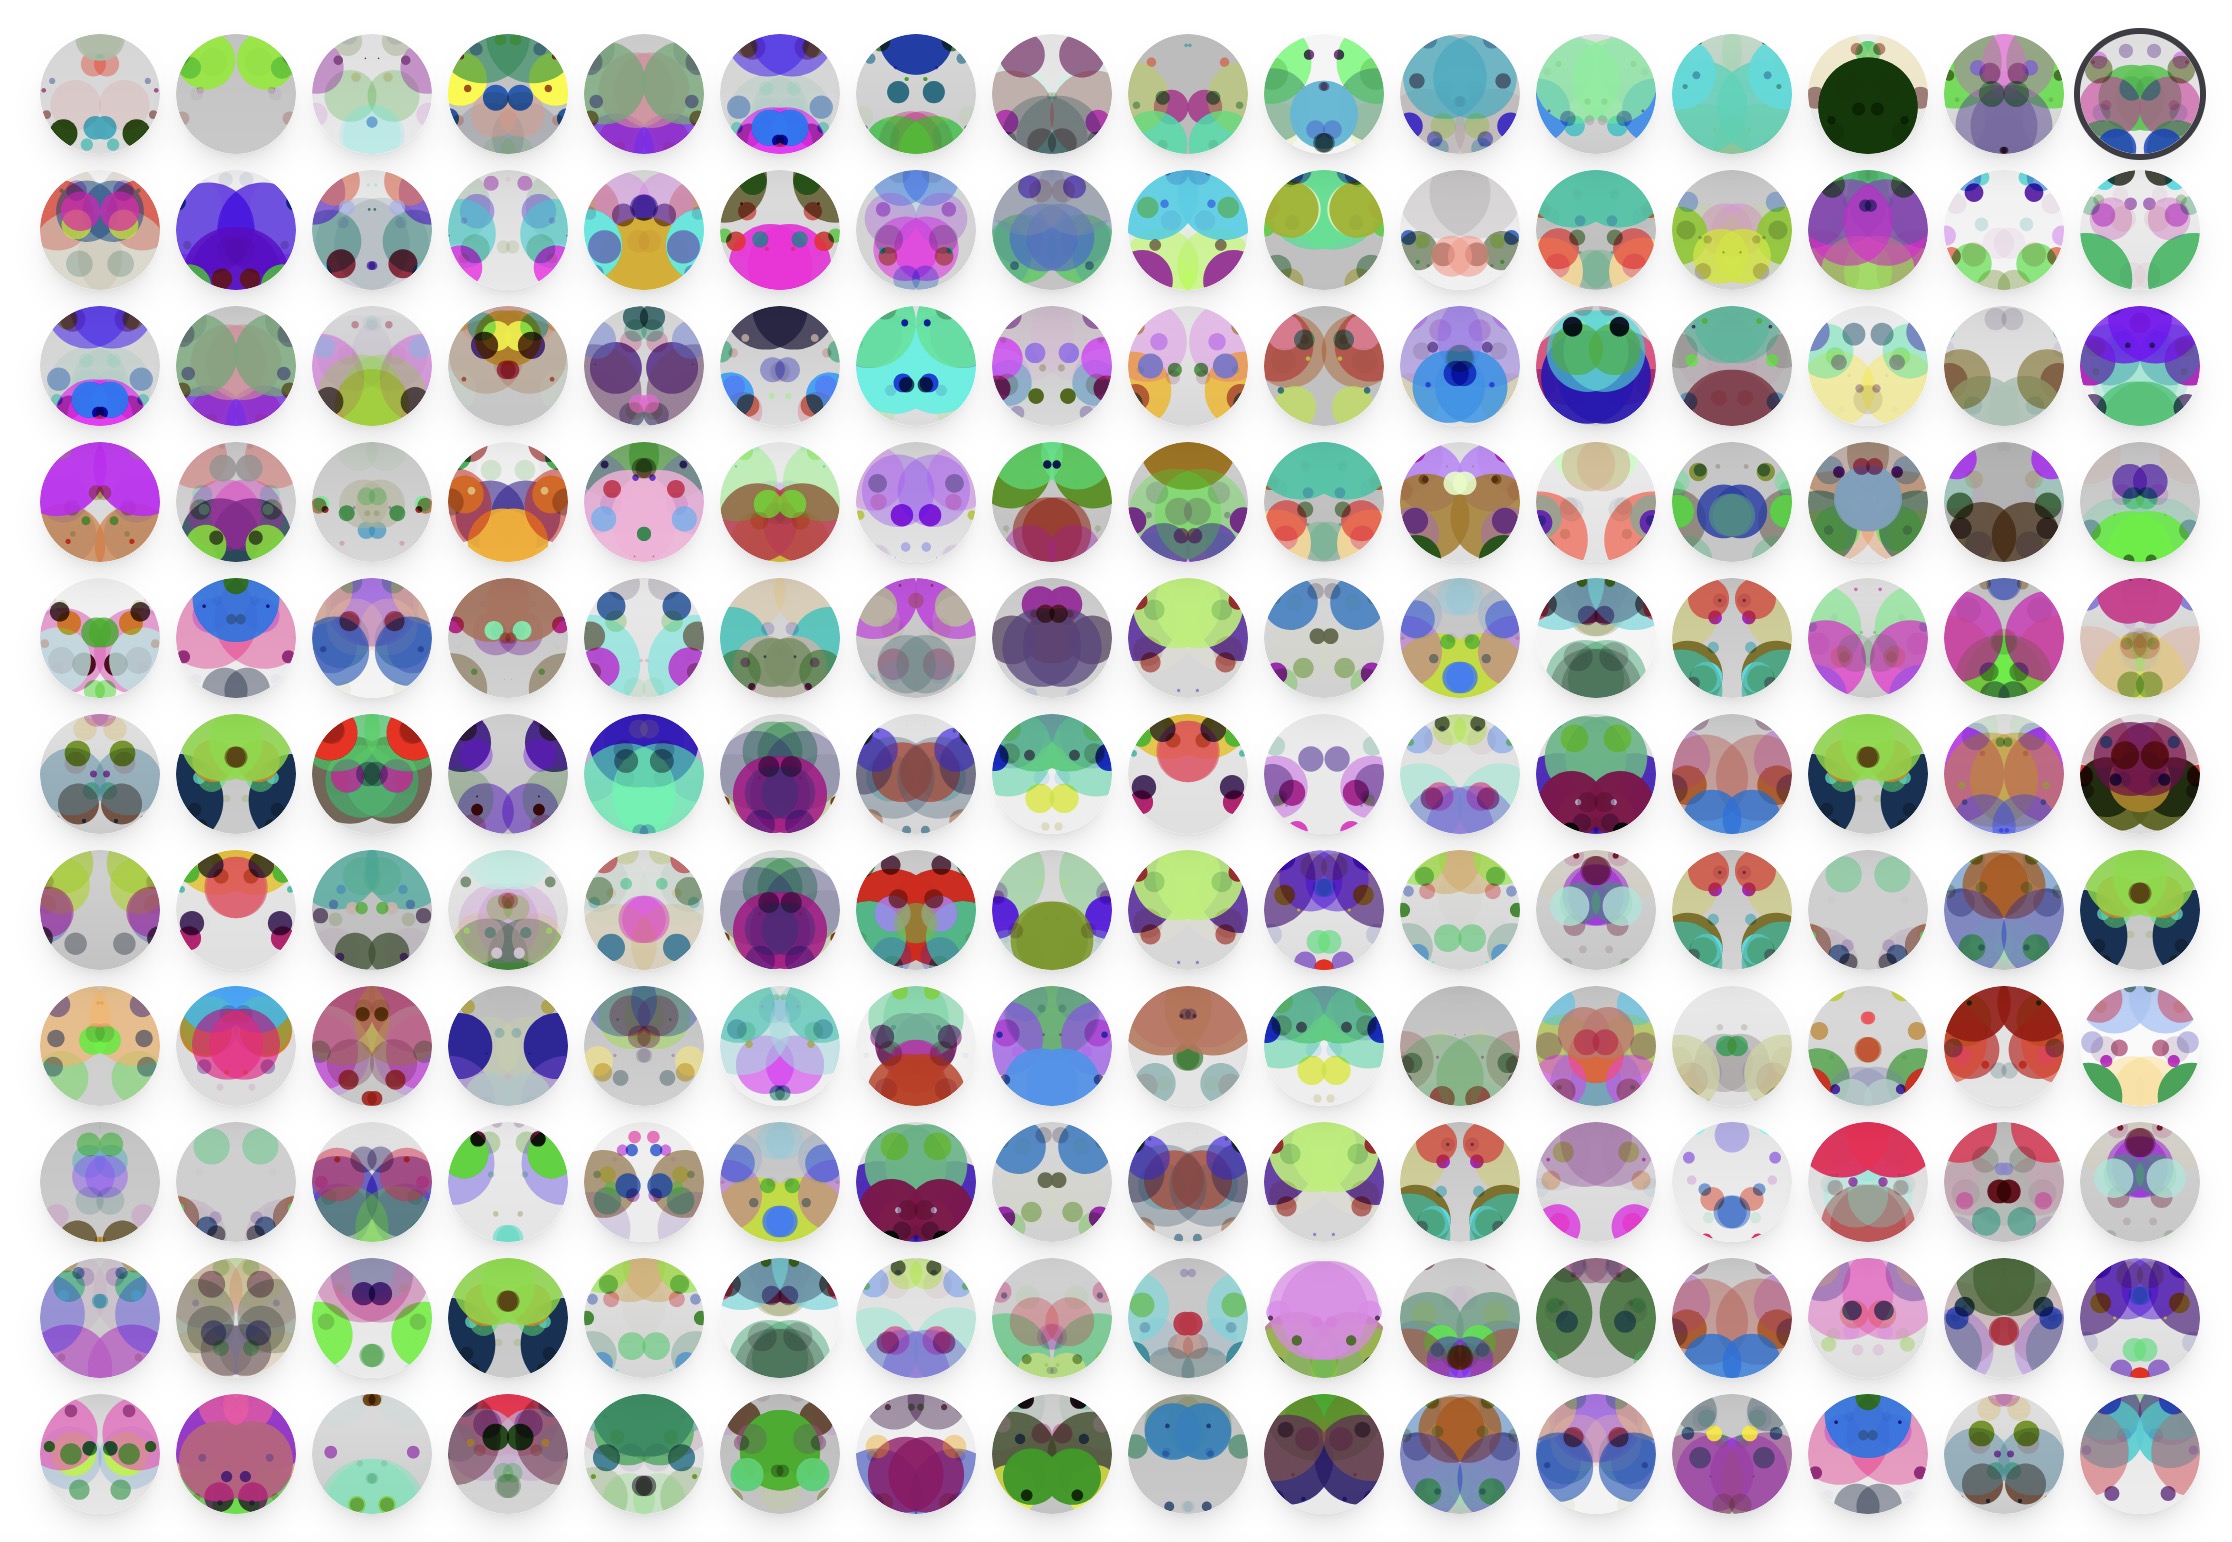
Gun-Avatar takes a public key `string` 88 symbols long and creates a `base64` encoded picture to be set as a source for an `` tag.
- Very few dependencies
- < 30 Kb filesize
- ES6 modules and web-components
- PNG canvas images with SVG fallback
- Data embedding
## How does it work?
SEA public key consists of 87 symbols including a dot in the middle, so we can consider it as `(7*4+1)*2`. So the steps to generate a unique picture for the key are like that:
1. We split the public key in two halves by the dot `.`.
2. We cut one digit from each part of the key. It gives us a pair of numbers, that we use to generate a grayscale vertical background gradient (light or dark)
3. Then we break the remaining 42 characters of each part into 4 groups of 7 numbers. Each group describes a circle: it's coordinates (x,y), it's radius (r) and 4 color parameters in the RGBA model (r,g,b,a). We place these circles on one side of a square canvas.
4. Circles from the first part of the key are bigger and are placed with normal composite mode. Circles from the second part are smaller and placed with 'lighten' composite mode.
5. Then half of the canvas gets reflected to create a nice symmetric 'portrait' to be used as an avatar of a SEA public key.
## How to use Gun-Avatar?
There are multiple ways to convert you keys into visual representations. The easiest and most cross-platform is to mount a custom element and
### 1. Custom HTML element
After you add the script to the page you get a custom element `` for ease of use. The attributes are reactive to changes. Set `dark` attribute if you need a dark version of the avatar. Set `round` attribute to get a rounded image. Also `size` in pixels is available.
```html
```
You can set up a custom element name with `mountElement('avatar')`
### 2. HTML img tag with `data-pub` attribute
Add the script to the page and then add `gun-avatar` class to an img tag along with add `data-pub` attribute with the pub key. `gun-avatar` automatically finds them on page and fills with corresponding base64 picture data. You can set `data-size` in px and style the avatar with css as you want. Also there's `data-dark` option to generate a dark version of the same avatar. You can add `.gun-avatar {border-radius: 100%}` to tour css to make it round.
```html
```
You can set up a custom class name with `mountClass('avatar')`
### 3. JS function
Install the NPM script from with a tool of your choice. Then you can `import {gunAvatar} from 'gun-avatar'` and use the function to render the avatar. Or simply `import 'gun-avatar'` for custom element use.
```shell
pnpm i gun-avatar
```
Import the `gunAvatar` function from 'gun-avatar'. Then you can use it to generate the base64 string to place into the src attribute with your favourite library or vanilla js. Function gets an object with options: `pub` , `size` in px, `draw` mode, `dark` of not, `reflect` or not.
```html
```
## Full function options
With graceful defaults
```js
const imageBase64 = gunAvatar({
pub, // 88 symbols standard SEA public key
size = 200, // square side size in pixels
draw = "circles", // or 'squares'
reflect = true, // vertical symmetry for more life-like look
round = true, // applies circular tranparency mask
dark = false, // global gradient can be darker
embed = true, // or any string data to embed into the PNG or SVG file, can be extracted later. Very convenient place for storing encrypted keys right in the avatar file.
svg = true, // or true or 'interactive'
p3 = true, // disable P3 color space to get back to rgb color values
})
```
### Draw modes
1. **Circles** - the default mode. Suitable for generating personal avatars. Assumes `reflect = true`.
2. **Squares** - gradient squares over blurred ones. Useful for rooms backgrounds. Assumes `reflect = false`.

```html
```
### P3 colors
With v.2.2.0 we switched to high dynamic range P3 colors that are now widely supported by modern device screens. Almost everyone will notice the vivid and captivating new color combinations. For fallback we still provide an RGB color option - good for older devices and export file compatibility.
### SVG format
Vector format output format. Infinite resolution, pure geometry, server side generation compatible, smaller in size. Optimal solution, became default with v.2.2.0. And also now we can attach encrypted metadata to SVG images as well.
### Interactive SVG
```vue
```
From version 2.2.0+ we now have full roadmap complete with amazing smooth animated reactions of both circles and squares backgrounds. Set `svg: 'interactive'` and embed the output in an `