# vue-web-screen-shot · [](https://www.npmjs.com/package/vue-web-screen-shot) [](https://yarnpkg.com/package/vue-web-screen-shot) [](https://github.com/likaia/screen-shot) [](https://github.com/likaia/screen-shot/issues) [](https://github.com/likaia/screen-shot/network/members) [](https://github.com/likaia/screen-shot/stargazers)
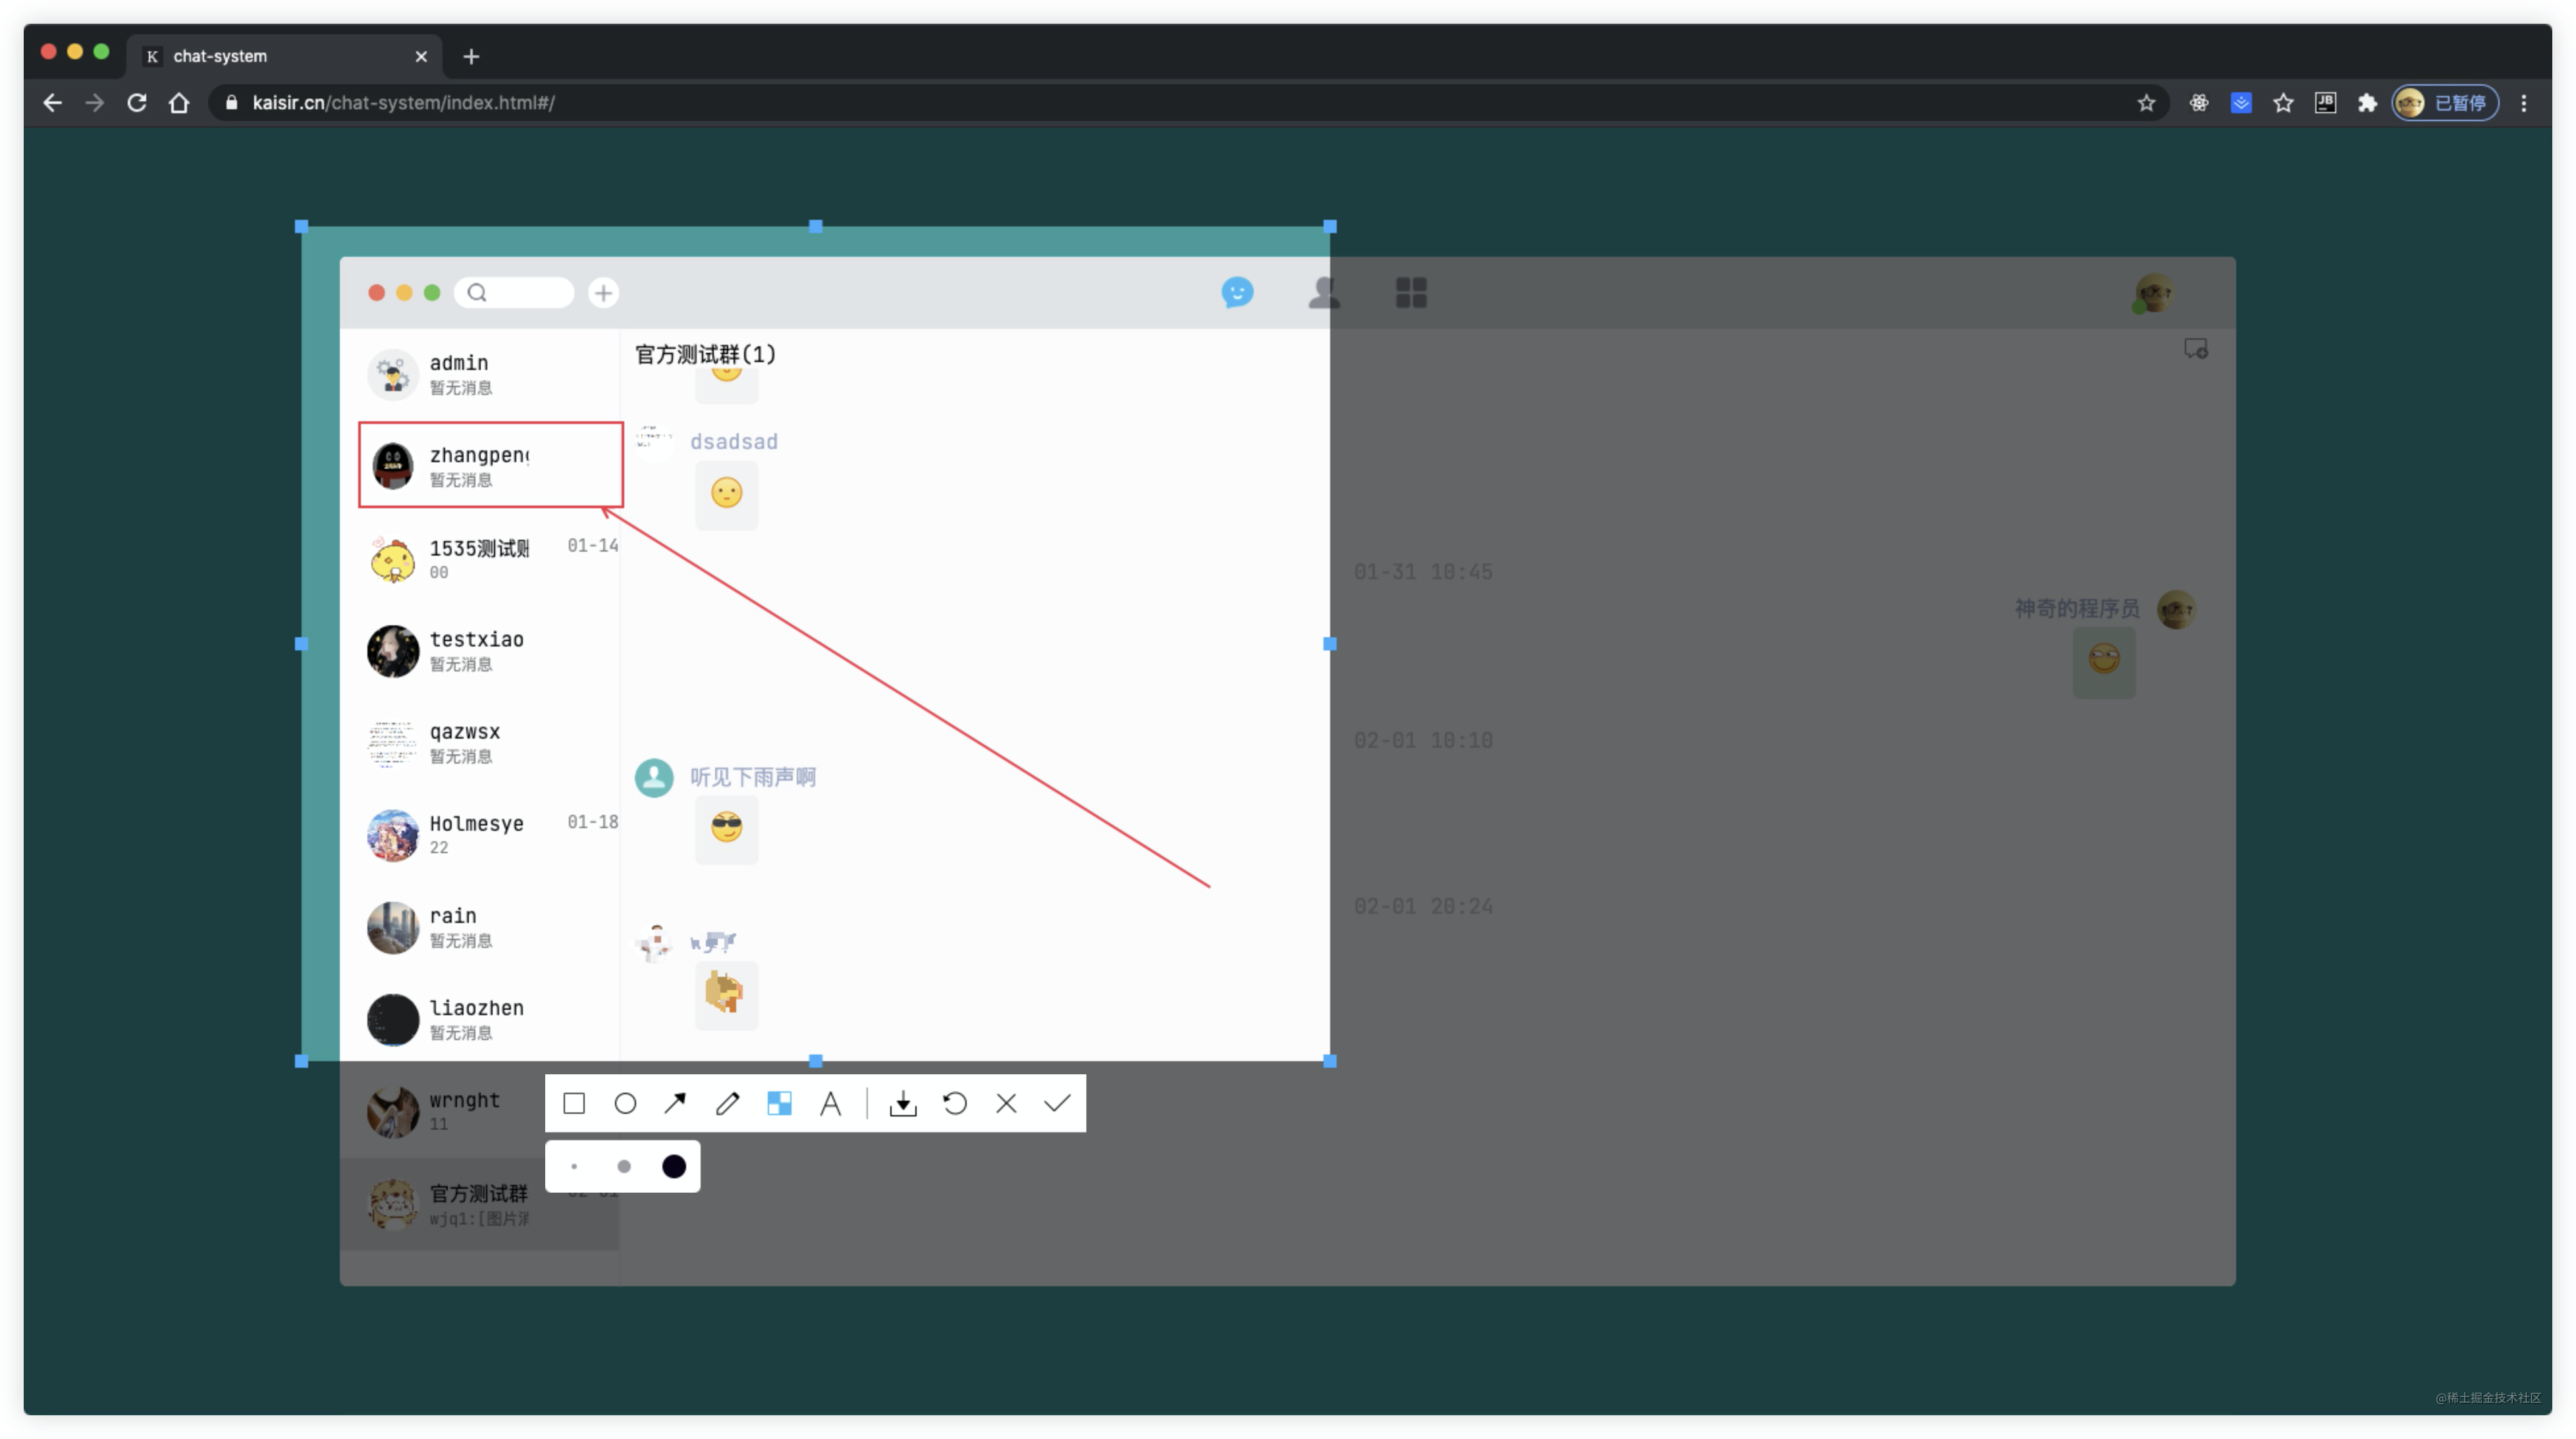
web端自定义截屏插件(Vue3版),运行视频:[实现web端自定义截屏功能](https://www.bilibili.com/video/BV1Ey4y127cV) , 本插件仅支持Vue3,如需在其他平台使用请移步 :[js-web-screen-shot](https://www.npmjs.com/package/js-web-screen-shot) 效果图如下:
## 写在前面
关于此插件的更多介绍以及实现原理请移步:
- [实现Web端自定义截屏](https://juejin.cn/post/6924368956950052877)
- [实现Web端自定义截屏(JS版)](https://juejin.cn/post/6931901091445473293)
## 插件安装
```bash
yarn add vue-web-screen-shot
# or
npm install vue-web-screen-shot --save
```
## 插件使用
由于插件使用Vue3编写,因此它只能在Vue3项目中运行,如果你需要在vue2项目或者其他js项目中运行请移步:[js-web-screen-shot](https://www.npmjs.com/package/js-web-screen-shot),它采用原生js编写,功能与本插件功能一致。
> 注意⚠️: 如果需要使用插件的webrtc模式或者截图写入剪切板功能,需要你的网站运行在`https`环境或者`localhost`环境。
* 在项目的入口文件`main.ts/main.js`中加入下述代码
```javascript
// 导入截屏插件
import screenShort from "vue-web-screen-shot";
const app = createApp(App);
// 使用截屏插件
app.use(screenShort, { enableWebRtc: false })
```
* 在你的需要使用的业务代码中,添加下述代码
```vue
```
### 参数说明
如示例代码所示,在template中直接使用`screen-short`插件,绑定组件需要的事件处理函数即可。
接下来就跟大家讲下组件中每个属性的意义:
* screenshotStatus 用于控制组件是否出现在dom中
* @destroy-component 用于接收截图组件传递的销毁消息,我们需要在对应的函数中销毁截图组件
* @get-image-data 用于接收截图组件传递的框选区域的base64图片信息,我们需要为他提供一个函数来接收截图组件传递的消息
#### 可选参数
截图插件有一个可选参数,它接受一个对象,对象每个key的作用如下:
* `enableWebRtc` 是否启用webrtc,值为boolean类型,值为false则使用html2canvas来截图
* `level` 截图容器层级,值为number类型。
* `clickCutFullScreen` 单击截全屏启用状态,值为`boolean`类型, 默认为`false`
* `hiddenToolIco` 需要隐藏的截图工具栏图标,值为`{ save?: boolean; undo?: boolean; confirm?: boolean }`类型,默认为`{}`。传你需要隐藏的图标名称,将值设为`true`即可。
## 写在最后
至此,插件的所有使用方法就介绍完了。