# node-red-contrib-azure-blob-storage
node-red-contrib-azure-blob-storage is a Node-RED node that allows you to work with Azure Blob Storage. You can create and delete Containers and also blob files.
It contains tww Node-RED cloud nodes: **Azure Save Blob Storage** and **Azure Get Bob Storage**
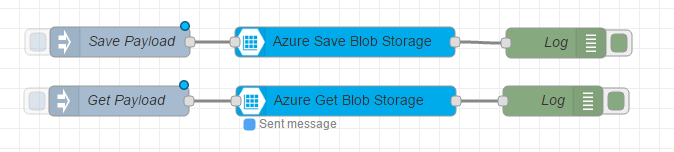
#### Azure Blob Storage
Node-Red node to connect to Azure Blob Storage
Ex: 'msg.payload' -> filename that you need to upload. Ex: filename.txt
- Use `msg.payload` to send a file to save on Azure Blob Storage.
- This file must be in the same folder of Node-RED user directory - typically `~/.node-red`
## Installation
```
npm install -g node-red-contrib-azure-blob-storage
## How to Use
### Node-RED Setup
Follow the instructions [here](http://nodered.org/docs/getting-started/installation) to get Node-RED setup locally.
```
### Saving data into Azure Blob Storage
1. Open Node-RED, usually:
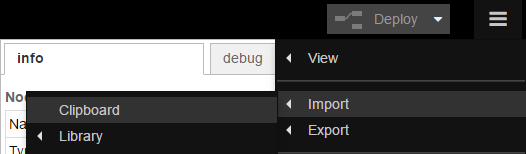
2. Go to Hamburger Menu -> Import -> Clipboard
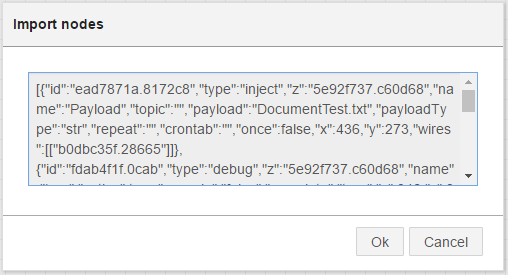
3. Paste the following code into the "Import nodes" dialog
```
[{"id":"ead7871a.8172c8","type":"inject","z":"5e92f737.c60d68","name":"Payload","topic":"","payload":"DocumentTest.txt","payloadType":"str","repeat":"","crontab":"","once":false,"x":436,"y":273,"wires":[["b0dbc35f.28665"]]},{"id":"fdab4f1f.0cab","type":"debug","z":"5e92f737.c60d68","name":"Log","active":true,"console":"false","complete":"true","x":846,"y":273,"wires":[]},{"id":"f65e9c4e.e7afb","type":"debug","z":"5e92f737.c60d68","name":"Log","active":true,"console":"false","complete":"true","x":846,"y":333,"wires":[]},{"id":"b3f32ebe.8a2ee","type":"inject","z":"5e92f737.c60d68","name":"Payload","topic":"","payload":"DocumentTest.txt","payloadType":"str","repeat":"","crontab":"","once":false,"x":436,"y":333,"wires":[["e6748f3.2163b7"]]},{"id":"b0dbc35f.28665","type":"Save Blob","z":"5e92f737.c60d68","name":"Azure Save Blob Storage","x":646,"y":274,"wires":[["fdab4f1f.0cab"]]},{"id":"e6748f3.2163b7","type":"Get Blob","z":"5e92f737.c60d68","name":"Azure Get Blob Storage","x":647,"y":333,"wires":[["f65e9c4e.e7afb"]]}]
```
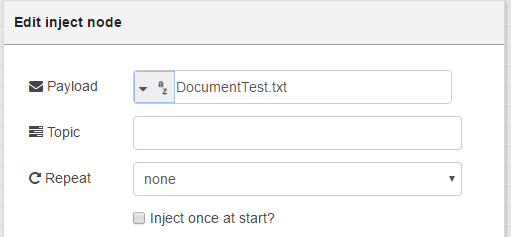
4. Double-click the Save Payload node
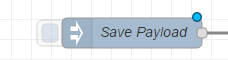
5. Enter your filename into the Payload field and click Done. Check "Inject once at start?" to send that file when you click Deploy.
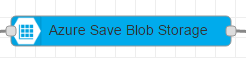
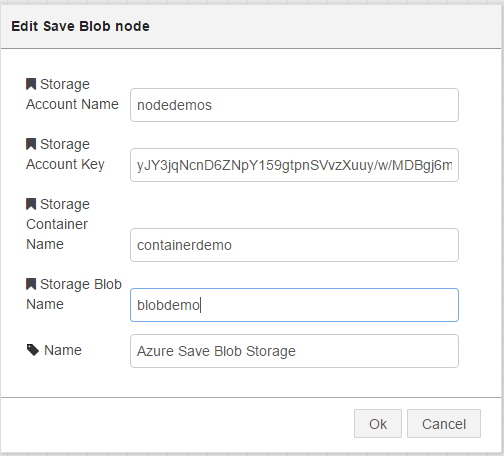
6. Double-click the Azure Save Blob Storage node, enter your Storage Account Name, Storage Account Key and your desired Container Name and Blob Name. Now click Done.
7. Click Deploy
8. Click the square button on the left side of the Save Payload node.

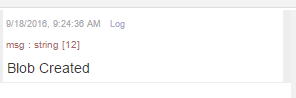
9. Click on the debug tab to your right and you'll see the output confirming that your data was sent.
### Getting data from Azure Blob Storage
1. Double-click the Get Payload node
2. Enter your filename into the Payload field and click Done.

3. Double-click the Azure Save Blob Storage node, enter your Storage Account Name, Storage Account Key and your desired Container Name and Blob Name. Now click Done.


4. Click Deploy

5. Click the square button on the left side of the Get Payload node.

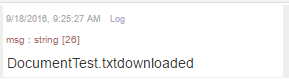
6. Click on the debug tab to your right and you'll see the name of file that you just downloded to node-red local folder.
### References
You can read more about Azure Storage [here](https://azure.microsoft.com/pt-br/documentation/services/storage/).