# react-calendly
[Calendly integration](https://help.calendly.com/hc/en-us/articles/223147027-Embed-options-overview) for React apps
[](https://www.npmjs.com/package/react-calendly) [](https://standardjs.com) [](https://tcampb.github.io/react-calendly)
---
## Installation
Depending on the package manager you are using for your project, use `npm install` or `yarn add` to include react-calendly in your react app.
```bash
npm install --save react-calendly
```
```bash
yarn add react-calendly
```
## Documentation
- [Basic Usage](#basic-usage)
- [Advanced Usage](#advanced-usage)
- [Frequently Asked Questions](#faq)
### Basic Usage
Ensure that React has been included into your page or component. Then, you can import any of the following components from the "react-calendly" package:
- [InlineWidget](#inlinewidget)
- [PopupWidget](#popupwidget)
- [PopupButton](#popupbutton)
- [useCalendlyEventListener](#usecalendlyeventlistener)
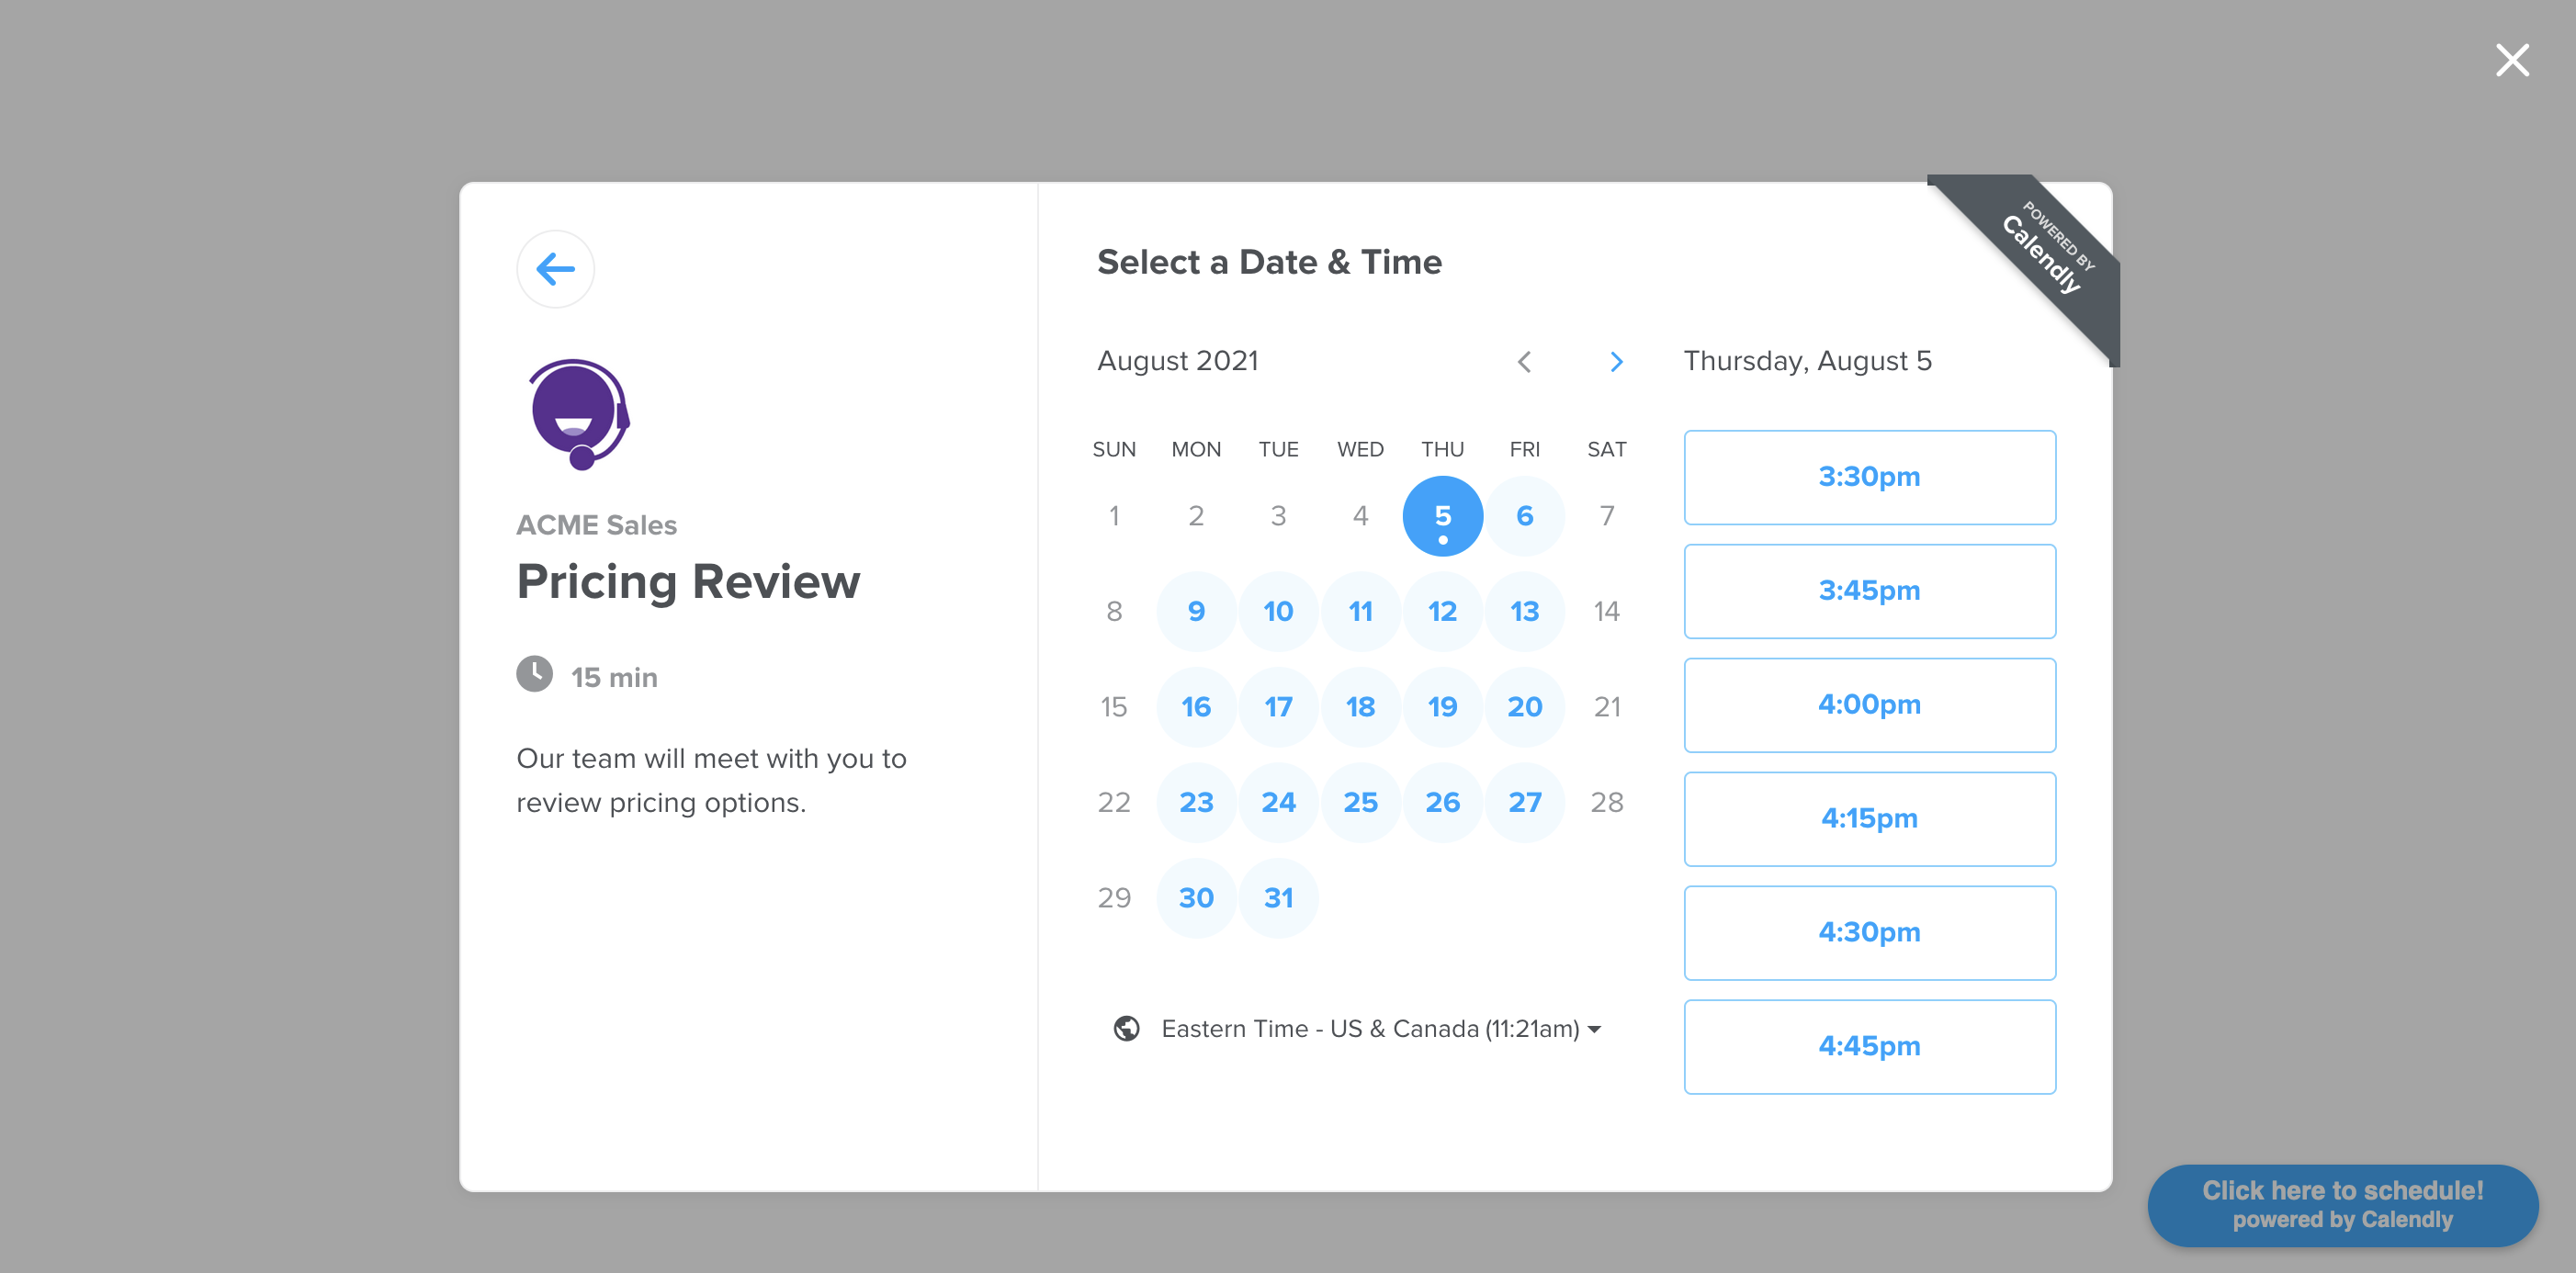
#### InlineWidget
```jsx
import React from "react";
import { InlineWidget } from "react-calendly";
const App = () => {
return (
);
};
export default App;
```
### Advanced Usage
You can also take advantage of using optional props on the component(s) such as including a defined height, color customization options (available on Pro plan only), utm parameters, pre-filling custom questions, etc. Here are the optional props you can use with the inline embed:
#### Inline Embed Height
```jsx
styles={{
height: '1000px'
}}
```
#### Page Settings
```jsx
pageSettings={{
backgroundColor: 'ffffff',
hideEventTypeDetails: false,
hideLandingPageDetails: false,
primaryColor: '00a2ff',
textColor: '4d5055'
}}
```
#### Prefill Values
```jsx
prefill={{
email: 'test@test.com',
firstName: 'Jon',
lastName: 'Snow',
name: 'Jon Snow',
smsReminderNumber: '+1234567890',
guests: [
'janedoe@example.com',
'johndoe@example.com'
],
customAnswers: {
a1: 'a1',
a2: 'a2',
a3: 'a3',
a4: 'a4',
a5: 'a5',
a6: 'a6',
a7: 'a7',
a8: 'a8',
a9: 'a9',
a10: 'a10'
},
date: new Date(Date.now() + 86400000)
}}
```
#### UTM Parameters
```jsx
utm={{
utmCampaign: 'Spring Sale 2019',
utmContent: 'Shoe and Shirts',
utmMedium: 'Ad',
utmSource: 'Facebook',
utmTerm: 'Spring'
}}
```
## FAQ
#### Why are my page settings not working?
For the page settings to work, you'll need to pass in a `url` prop that is associated with a Calendly account on the [Pro plan](https://calendly.com/pages/pricing).
#### How do I create a custom button that triggers a pop-up scheduler?
```tsx
import { PopupModal } from "react-calendly";
class CustomButtonExample extends React.Component {
constructor(props) {
super(props);
this.state = {
isOpen: false,
};
}
render() {
return (
this.setState({ isOpen: false })}
open={this.state.isOpen}
/*
* react-calendly uses React's Portal feature (https://reactjs.org/docs/portals.html) to render the popup modal. As a result, you'll need to
* specify the rootElement property to ensure that the modal is inserted into the correct domNode.
*/
rootElement={document.getElementById("root")}
/>
 ## Installation
Depending on the package manager you are using for your project, use `npm install` or `yarn add` to include react-calendly in your react app.
```bash
npm install --save react-calendly
```
```bash
yarn add react-calendly
```
## Documentation
- [Basic Usage](#basic-usage)
- [Advanced Usage](#advanced-usage)
- [Frequently Asked Questions](#faq)
### Basic Usage
Ensure that React has been included into your page or component. Then, you can import any of the following components from the "react-calendly" package:
- [InlineWidget](#inlinewidget)
- [PopupWidget](#popupwidget)
- [PopupButton](#popupbutton)
- [useCalendlyEventListener](#usecalendlyeventlistener)
#### InlineWidget
```jsx
import React from "react";
import { InlineWidget } from "react-calendly";
const App = () => {
return (
## Installation
Depending on the package manager you are using for your project, use `npm install` or `yarn add` to include react-calendly in your react app.
```bash
npm install --save react-calendly
```
```bash
yarn add react-calendly
```
## Documentation
- [Basic Usage](#basic-usage)
- [Advanced Usage](#advanced-usage)
- [Frequently Asked Questions](#faq)
### Basic Usage
Ensure that React has been included into your page or component. Then, you can import any of the following components from the "react-calendly" package:
- [InlineWidget](#inlinewidget)
- [PopupWidget](#popupwidget)
- [PopupButton](#popupbutton)
- [useCalendlyEventListener](#usecalendlyeventlistener)
#### InlineWidget
```jsx
import React from "react";
import { InlineWidget } from "react-calendly";
const App = () => {
return (